

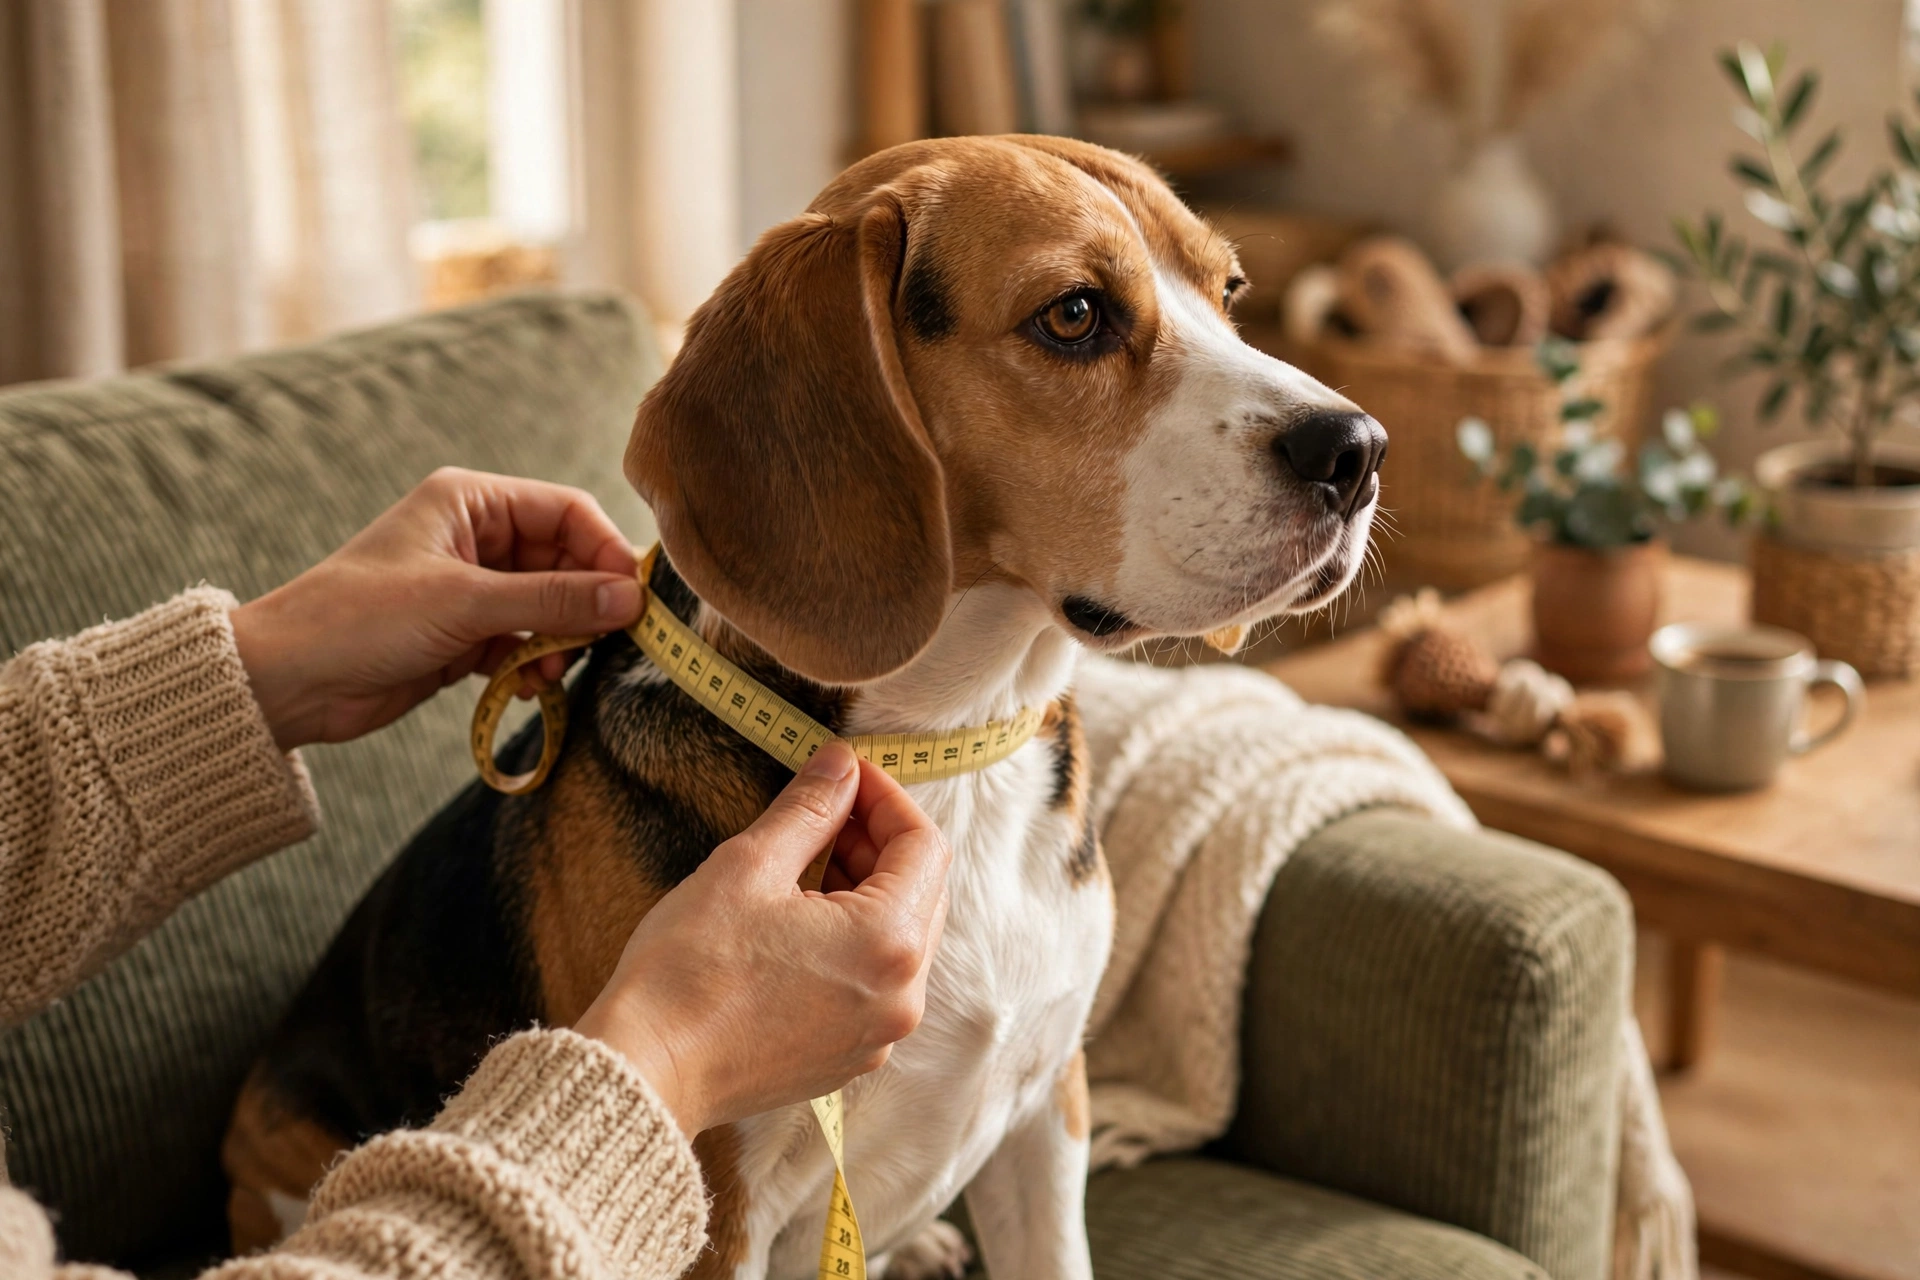
Few dog supplies get purchased on pure guesswork more often than the collar. It looks simple — pick a color, pick a size, click buy — and then the box arrives and the collar either drowns your dog’s neck or won’t close at all. A collar that’s too loose can slip right off during a walk (a scary moment on a busy street), while one that’s too tight can cause discomfort, matted fur, or even skin irritation. Getting the fit right takes about two minutes and one soft measuring tape, and this guide walks you through exactly how to do it — whether you’re buying your first collar, sizing up a growing puppy, or replacing a worn-out favorite.
Direct answer: Measure your dog’s neck at the base of the neck where the collar will sit, using a soft tape measure; keep the tape snug but not tight, then add 1 to 2 inches to get your collar size. The classic fit test is the two-finger rule: once the collar is on, you should be able to slip two fingers flat between the collar and your dog’s neck. Re-measure puppies every few weeks and always measure after grooming for an accurate reading.
Why does the right collar size matter so much?
A collar does more than hold ID tags and a leash — it is a safety device. A collar that fits correctly keeps your dog safely connected to you on walks without hurting them. A collar that fits poorly fails at that job in both directions.
If the collar is too loose, your dog can back out of it — something nervous, slippery-coated, or slender-headed dogs (think greyhounds, whippets, and many mixes) are especially good at. If the collar is too tight, it presses constantly against the neck, which can cause rubbing, hair loss, and skin irritation, and can be genuinely painful for brachycephalic (flat-faced) breeds and dogs with trachea sensitivities.
The good news: the perfect fit is not a mystery. It is a measurement plus a simple finger test, and once you know the method you can size any collar — flat buckle, martingale, or harness — with confidence.
What do you need to measure your dog’s neck?
Gather two things before you start:
- A soft measuring tape. The flexible kind used for sewing is perfect. If you don’t have one, a piece of string or ribbon plus a ruler or hard tape measure works just as well — wrap the string around the neck, mark it, then measure the string.
- A calm moment and a treat. Measuring works best when your dog is standing relaxed, not sitting hunched or straining forward. A small treat keeps them still and makes the experience positive.
Stand your dog on all four legs with their head in a natural, neutral position. Have them look straight ahead — not up at you (which stretches the neck and thins it out) and not down at the floor (which scrunches it).
Where exactly should you measure your dog’s neck?
This is the question that causes most sizing mistakes. The correct spot depends on the collar type, but for a standard flat buckle collar — the most common everyday collar — measure at the base of the neck, the wider part where a collar naturally sits, roughly between the top of the shoulders and the bottom of the throat.
Wrap the soft tape around that spot, keeping it flat against the fur (don’t press it deep into the coat, but don’t let it hover loosely either). The tape should sit snug with no slack, the way a well-fitted collar will. Note the number — that is your dog’s neck measurement.
For a martingale collar, which is designed to sit higher on the neck, take two measurements: one at the base of the neck (widest point) and one just behind the ears and jaw where the collar tightens. Many martingale size guides use the wider measurement as the key number, since the collar must be able to slide over the head. For a harness, the critical measurement is the chest: wrap the tape around the widest part of the ribcage, just behind the front legs.
How do you turn the neck measurement into a collar size?
Add 1 to 2 inches (about 2.5 to 5 cm) to your dog’s neck measurement. This gives the collar’s adjustment range room to land in the middle of its holes rather than at the very first or very last one. A collar that is maxed out on the smallest setting will be too small within a few months if your dog gains weight or grows a thicker winter coat; one that only closes on the tightest hole has no room to tighten.
Example: if your dog’s neck measures 14 inches, look for collars with an adjustment range around 14–18 inches (a typical medium), so the collar can sit comfortably at 15–16 inches with room on both sides. Aim to land your ideal fit near the middle of the collar’s range, not at either extreme.
The generic size ranges below are approximate guides for flat buckle collars — always check the specific brand’s chart, because sizing varies between manufacturers.
| Size | Typical Neck Range | Breed Examples |
|---|---|---|
| XS | 8–12 inches | Chihuahua, Yorkshire Terrier, Maltese |
| S | 10–16 inches | Beagle, French Bulldog, Cocker Spaniel |
| M | 14–20 inches | Border Collie, Australian Shepherd, Standard Poodle |
| L | 18–24 inches | Labrador Retriever, German Shepherd, Boxer |
| XL | 22–28 inches | Great Dane, Mastiff, Newfoundland |
These are ballpark figures, not brand specifications. Two dogs of the same breed can wear different sizes depending on body condition, coat thickness, and individual build — which is why the tape measurement, not the breed label, is what matters.
What is the two-finger rule, and how do you use it?
The two-finger rule is the simplest and most widely recommended collar-fit test. The American Kennel Club’s guidance for fitting a collar is straightforward: the collar should be snug but not tight, and you should be able to fit two fingers between the collar and your dog’s neck.
Here’s how to apply it once the collar is on:
- Buckle the collar at the setting that matches your measurement.
- Slide your index and middle fingers flat under the collar, against your dog’s neck.
- Two fingers slide in comfortably? The fit is right.
- Can’t get two fingers in? It’s too tight — loosen it.
- Fingers fit with lots of room, or the collar rotates freely and slides toward the ears? It’s too loose — tighten it, and if you’re at the last hole, size down.
One caveat: for giant breeds with very thick necks, some trainers recommend testing with two fingers for adults and being slightly more generous for puppies, who grow fast. The principle stays the same — snug enough to stay put, loose enough that it never presses hard against the throat.
Do different collar types need different measuring?
Yes. The neck measurement gets you a flat buckle collar, but training and safety collars each have their own logic. Here’s a quick comparison:
| Collar Type | What to Measure | Fit Notes |
|---|---|---|
| Flat buckle collar | Neck at base | Two-finger rule; everyday collar, holds ID tags |
| Martingale (limited-slip) | Neck at base AND behind the jaw | Must slide over the head, then tighten to a stop — should not cinch shut completely |
| Head halter (e.g., Gentle Leader style) | Snout and behind the ears | Snug on the nose, fits behind the jaw; follow the brand’s specific chart |
| Harness (back-clip) | Chest behind front legs + neck | Should sit clear of the throat; two fingers under all straps |
| Slip lead / choke-style | Neck behind the jaw | Only for supervised training use, never for tie-out; must release fully when slack |
A note on safety collars: choke chains and prong collars are training tools with their own fitting rules and should be sized and used under the guidance of a professional trainer. The American Kennel Club also notes that puppies should never be left wearing slip-style collars unsupervised, and dogs should never be tied out on choke or slip collars, since a snag can tighten the collar with tragic results.
If your dog is still pulling hard on walks while you sort out equipment, a properly fitted harness is often the more comfortable interim solution than a collar — our guide on how to stop your dog pulling on the leash walks through training methods that fix the root cause.
How often should you re-measure puppies?
Puppies grow at a startling pace, and a collar that fit perfectly last month may be tight today. For puppies under six months, check the collar fit every two to four weeks and re-measure the neck monthly. Watch for the telltale signs of a collar getting too small: you can no longer fit two fingers under it, the fur under the collar looks flattened or rubbed, or your puppy scratches at the collar more than usual.
Many owners buy an inexpensive adjustable collar for the puppy stage and invest in a quality collar once growth slows (usually around 10–12 months for medium and large breeds, later for giant breeds). This is the same stage where good habits around routines and rest matter most, which is why our crate training basics guide pairs well with collar training.
Should you measure before or after grooming?
Always measure after grooming if your dog is between appointments. A thick, fluffy coat can add an inch or more to the neck measurement, and a collar sized for the fluffy version will hang loose once the coat is trimmed. If you just had your dog groomed, that’s the perfect time to take a fresh measurement.
The same principle applies seasonally: many double-coated breeds blow their undercoat in spring and grow a dense coat for winter. If you notice the collar fitting noticeably tighter in winter, that’s usually the coat, not weight gain — but a quick re-measure settles the question either way.
What are the most common collar-measuring mistakes?
These errors show up again and again:
- Measuring the throat, not the neck. The narrow part of the throat (where you’d feel a pulse) gives a smaller number than the base of the neck where the collar actually sits. Measure where the collar will rest.
- Measuring while the dog sits. Sitting bunches up the neck skin and fur, making the measurement larger than it is when the dog stands. Always measure standing.
- Pulling the tape tight. A tape pulled drum-tight gives you the absolute minimum circumference, not a comfortable wearing size. Snug with no slack is the goal.
- Skipping the two-finger test. The measurement gets you in the right ballpark; the finger test confirms the real fit, accounting for coat thickness and body condition.
- Buying at the extreme end of a size range. If your dog’s measurement lands at the very edge of a size (say, 16 inches on a collar rated 12–16), size up. Collars adjust, but they adjust best in the middle of their range.
- Forgetting to check the fit over time. Adult dogs gain and lose weight, and fit drifts. Check the two-finger fit every couple of months — it takes five seconds.
Keeping your dog comfortable goes beyond the collar, of course. Nail care affects how a dog stands and walks too, so while you’re in measuring mode it’s a good moment to revisit how to trim your dog’s nails without stress if the claws are getting long.
Expert guidance worth knowing
The American Kennel Club — the US’s best-known purebred dog registry and a widely cited authority on dog care — recommends the two-finger test as the standard for collar fit: a collar should be snug enough that it stays in place but loose enough that two fingers fit between the collar and the neck. The AKC also advises that every dog should wear a collar with ID tags whenever they’re out, regardless of microchipping, because tags are the fastest way a stranger can return a lost dog.
Veterinary behaviorists and trainers consistently echo the same point: equipment that fits correctly is a safety tool, while equipment that fits poorly becomes a hazard. When in doubt, ask your vet — especially for dogs with tracheal collapse, neck injuries, or breathing issues, where a harness may be the safer everyday choice than a collar.
FAQs
How tight should a dog collar be?
Snug enough that it doesn’t slide over the ears, but loose enough that you can fit two fingers flat between the collar and your dog’s neck. If you can’t fit two fingers, it’s too tight; if it rotates freely or you can pull it over the head, it’s too loose.
How do you measure a dog’s neck without a tape measure?
Wrap a piece of string, ribbon, or even a phone charging cable around the base of the neck where the collar will sit, mark the length, then measure the string with a ruler or hard tape measure. Keep the string snug but not tight, the way a collar would sit.
What size collar does my puppy need?
Measure the puppy’s neck at the base and add 1 to 2 inches, then choose an adjustable collar whose range sits in the middle of that number. Re-check the fit every two to four weeks — puppies outgrow collars fast — and plan to size up several times before they reach adult size.
Should a collar be looser in summer and tighter in winter?
Not tighter — but you may need to adjust the setting. Thick winter coats make collars fit more snugly, while a summer trim makes the same collar looser. Check the two-finger fit after every grooming appointment and adjust the buckle setting rather than buying a new collar.
Closing
Measuring your dog for a collar is a two-minute job that pays off every single day: safer walks, a more comfortable dog, and ID tags that stay where they belong. Take the neck measurement standing at the base of the neck, add an inch or two, land in the middle of the size range, and confirm with the two-finger test. Recheck the fit after grooming and during the puppy months, and you’ll never have to guess again. When in doubt, ask your vet — especially if your dog has any neck or breathing sensitivities that make a harness the better call.